Getting Started with WebToApp: Convert Your Website to a Mobile App in Minutes
WebToApp Team
Product Team
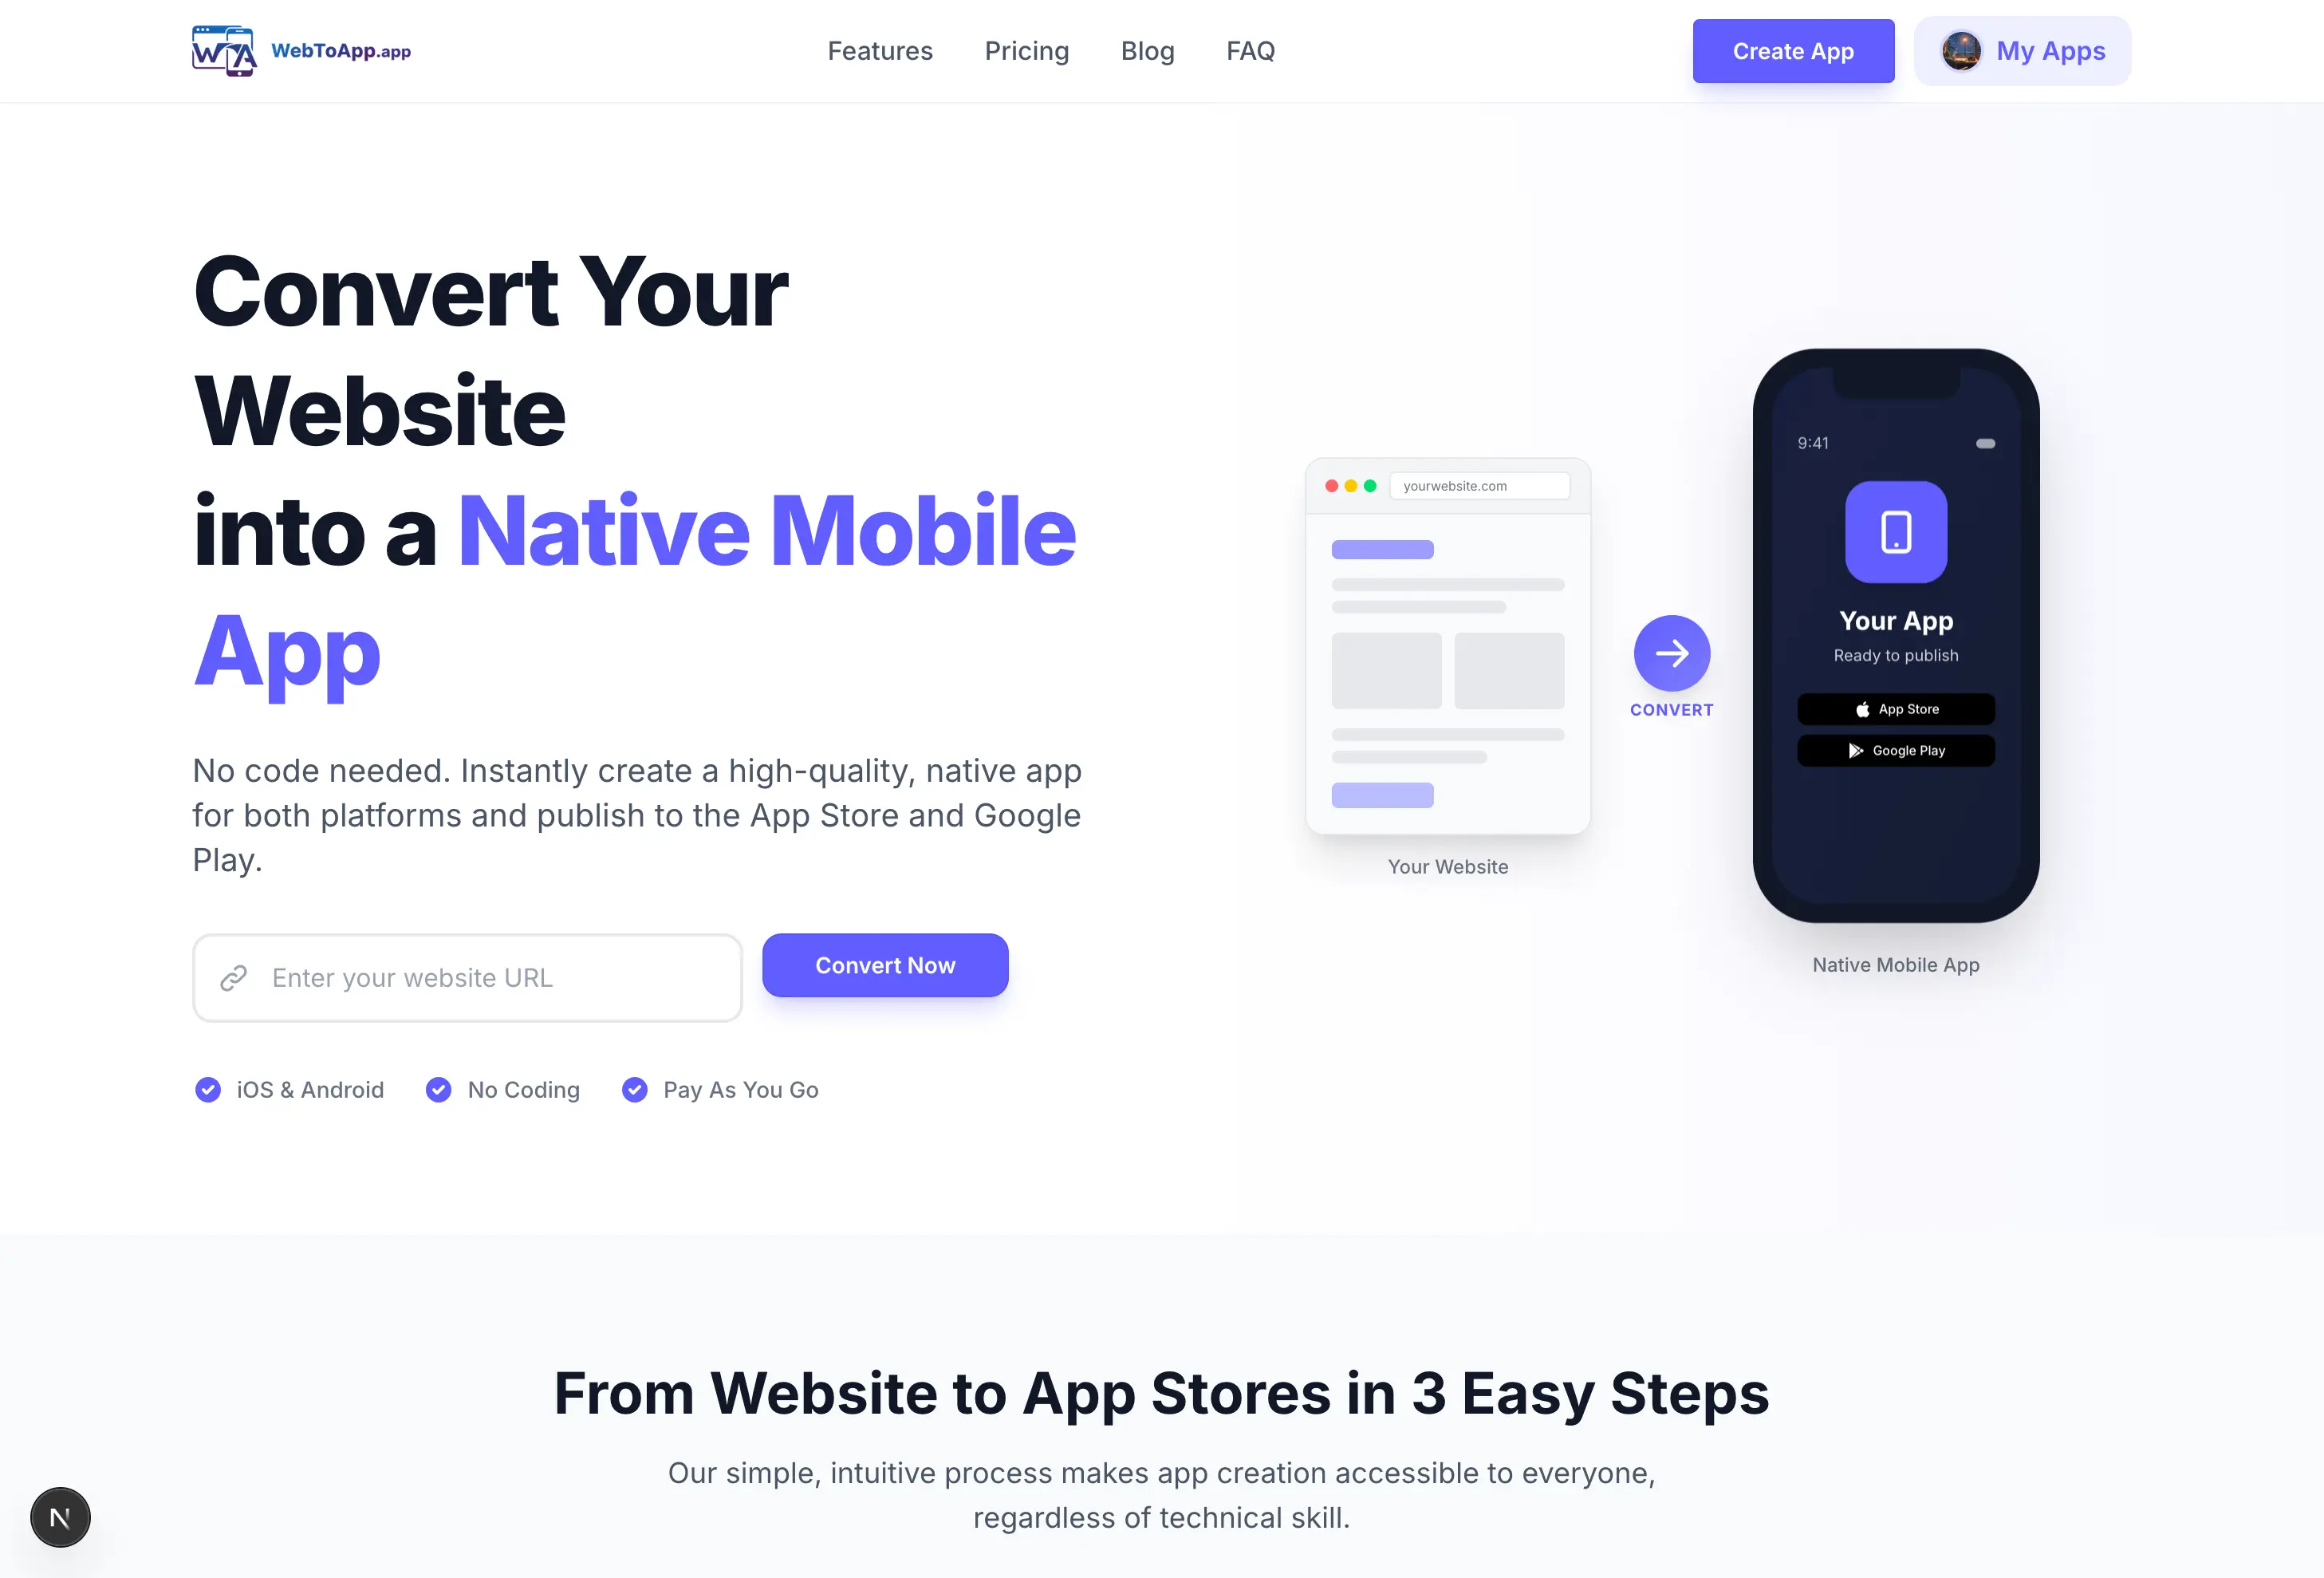
Converting your website into a native mobile app has never been easier. With WebToApp, you can transform any responsive website into iOS and Android apps in just minutes—no coding required. This guide will walk you through the entire process from start to finish.
#Why Convert Your Website to a Mobile App?
While responsive websites work great on mobile browsers, native apps offer significant advantages that can boost your business:
- Push notifications to re-engage users and drive traffic
- Home screen presence with your branded app icon
- Faster perceived performance with native navigation
- Offline support for a seamless user experience
- Access to device features like camera and file uploads
- Presence in the App Store and Google Play for discoverability
Pro Tip
Apps with push notifications see up to 88% higher engagement compared to websites alone. This is often the #1 reason businesses convert their sites to apps.
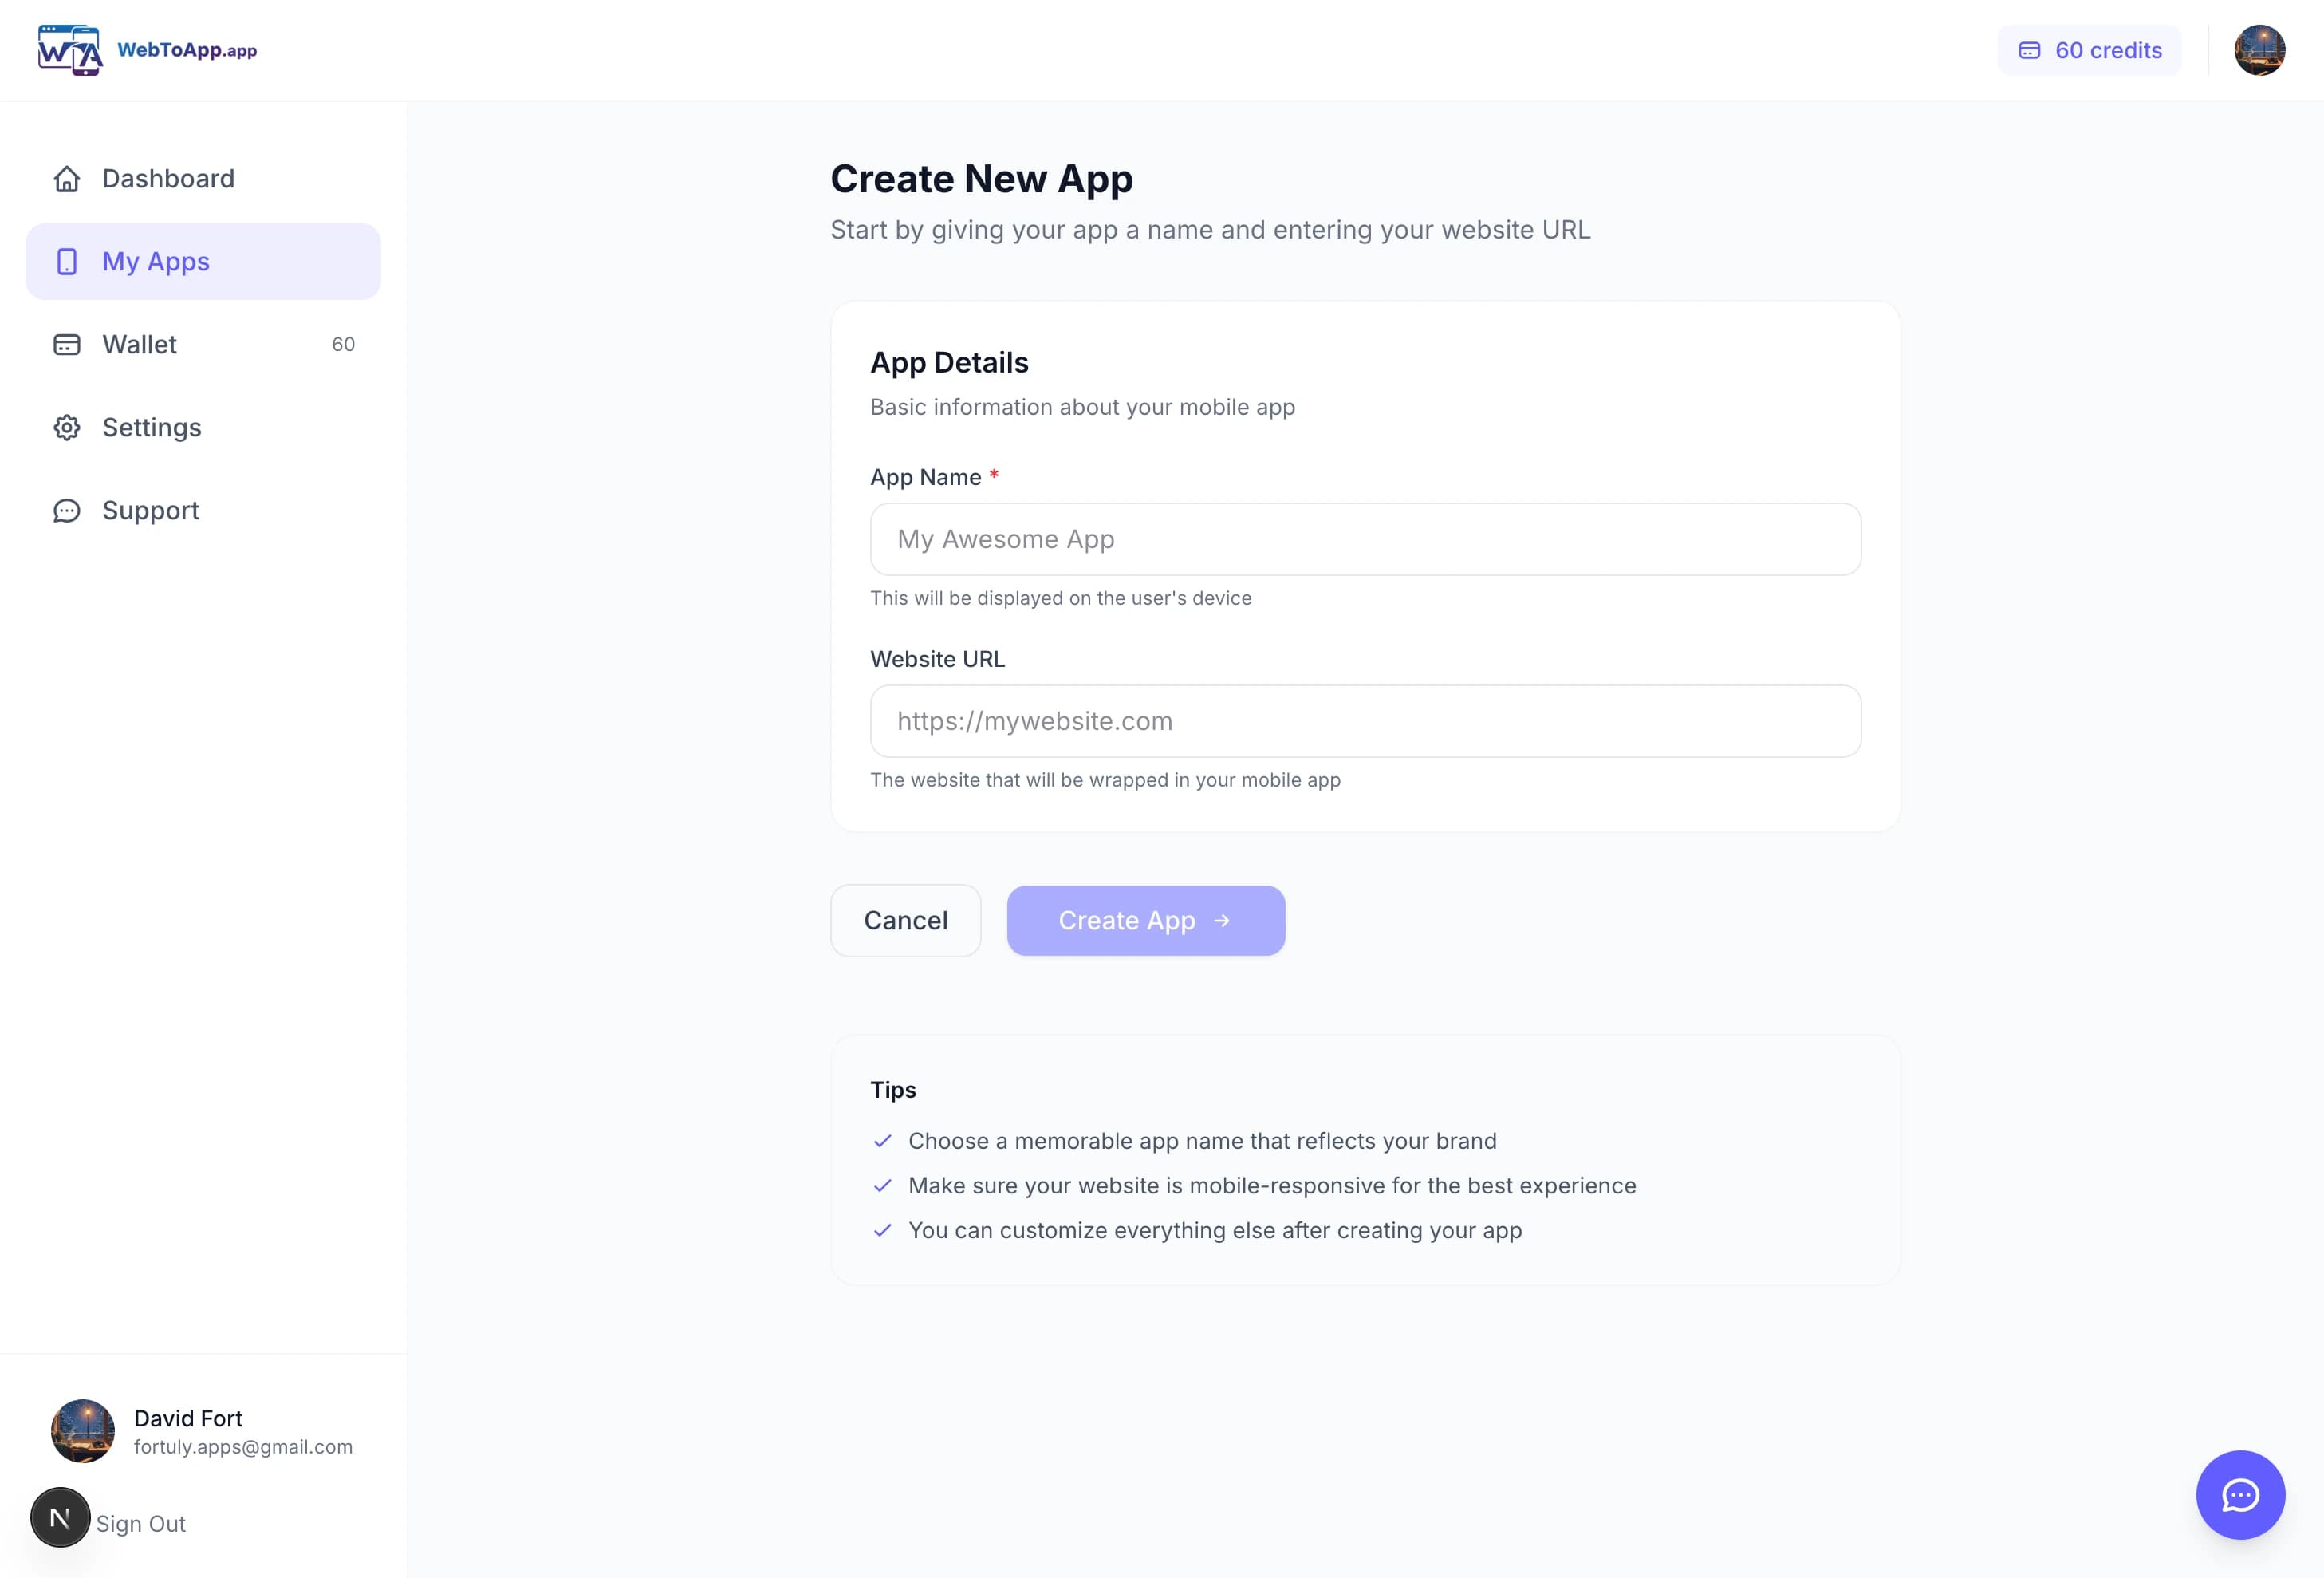
#Step 1: Enter Your Website URL
Start by signing up for a WebToApp account and navigating to 'Create New App'. Enter the full URL of your website (e.g., https://yoursite.com). We fetch your site's favicon and suggest an app name from the page title. If that fails, we use the hostname and a letter avatar. You can replace the icon later — it is not required to create the app.
Free demo, no credits yet
After you click Create app and start demo, Android and iOS demo files queue automatically at 0 credits. Open demo on General shows your site in a phone immediately; the files are optional downloads. Credits are only used when a production build succeeds.
#Step 2: Customize Your App
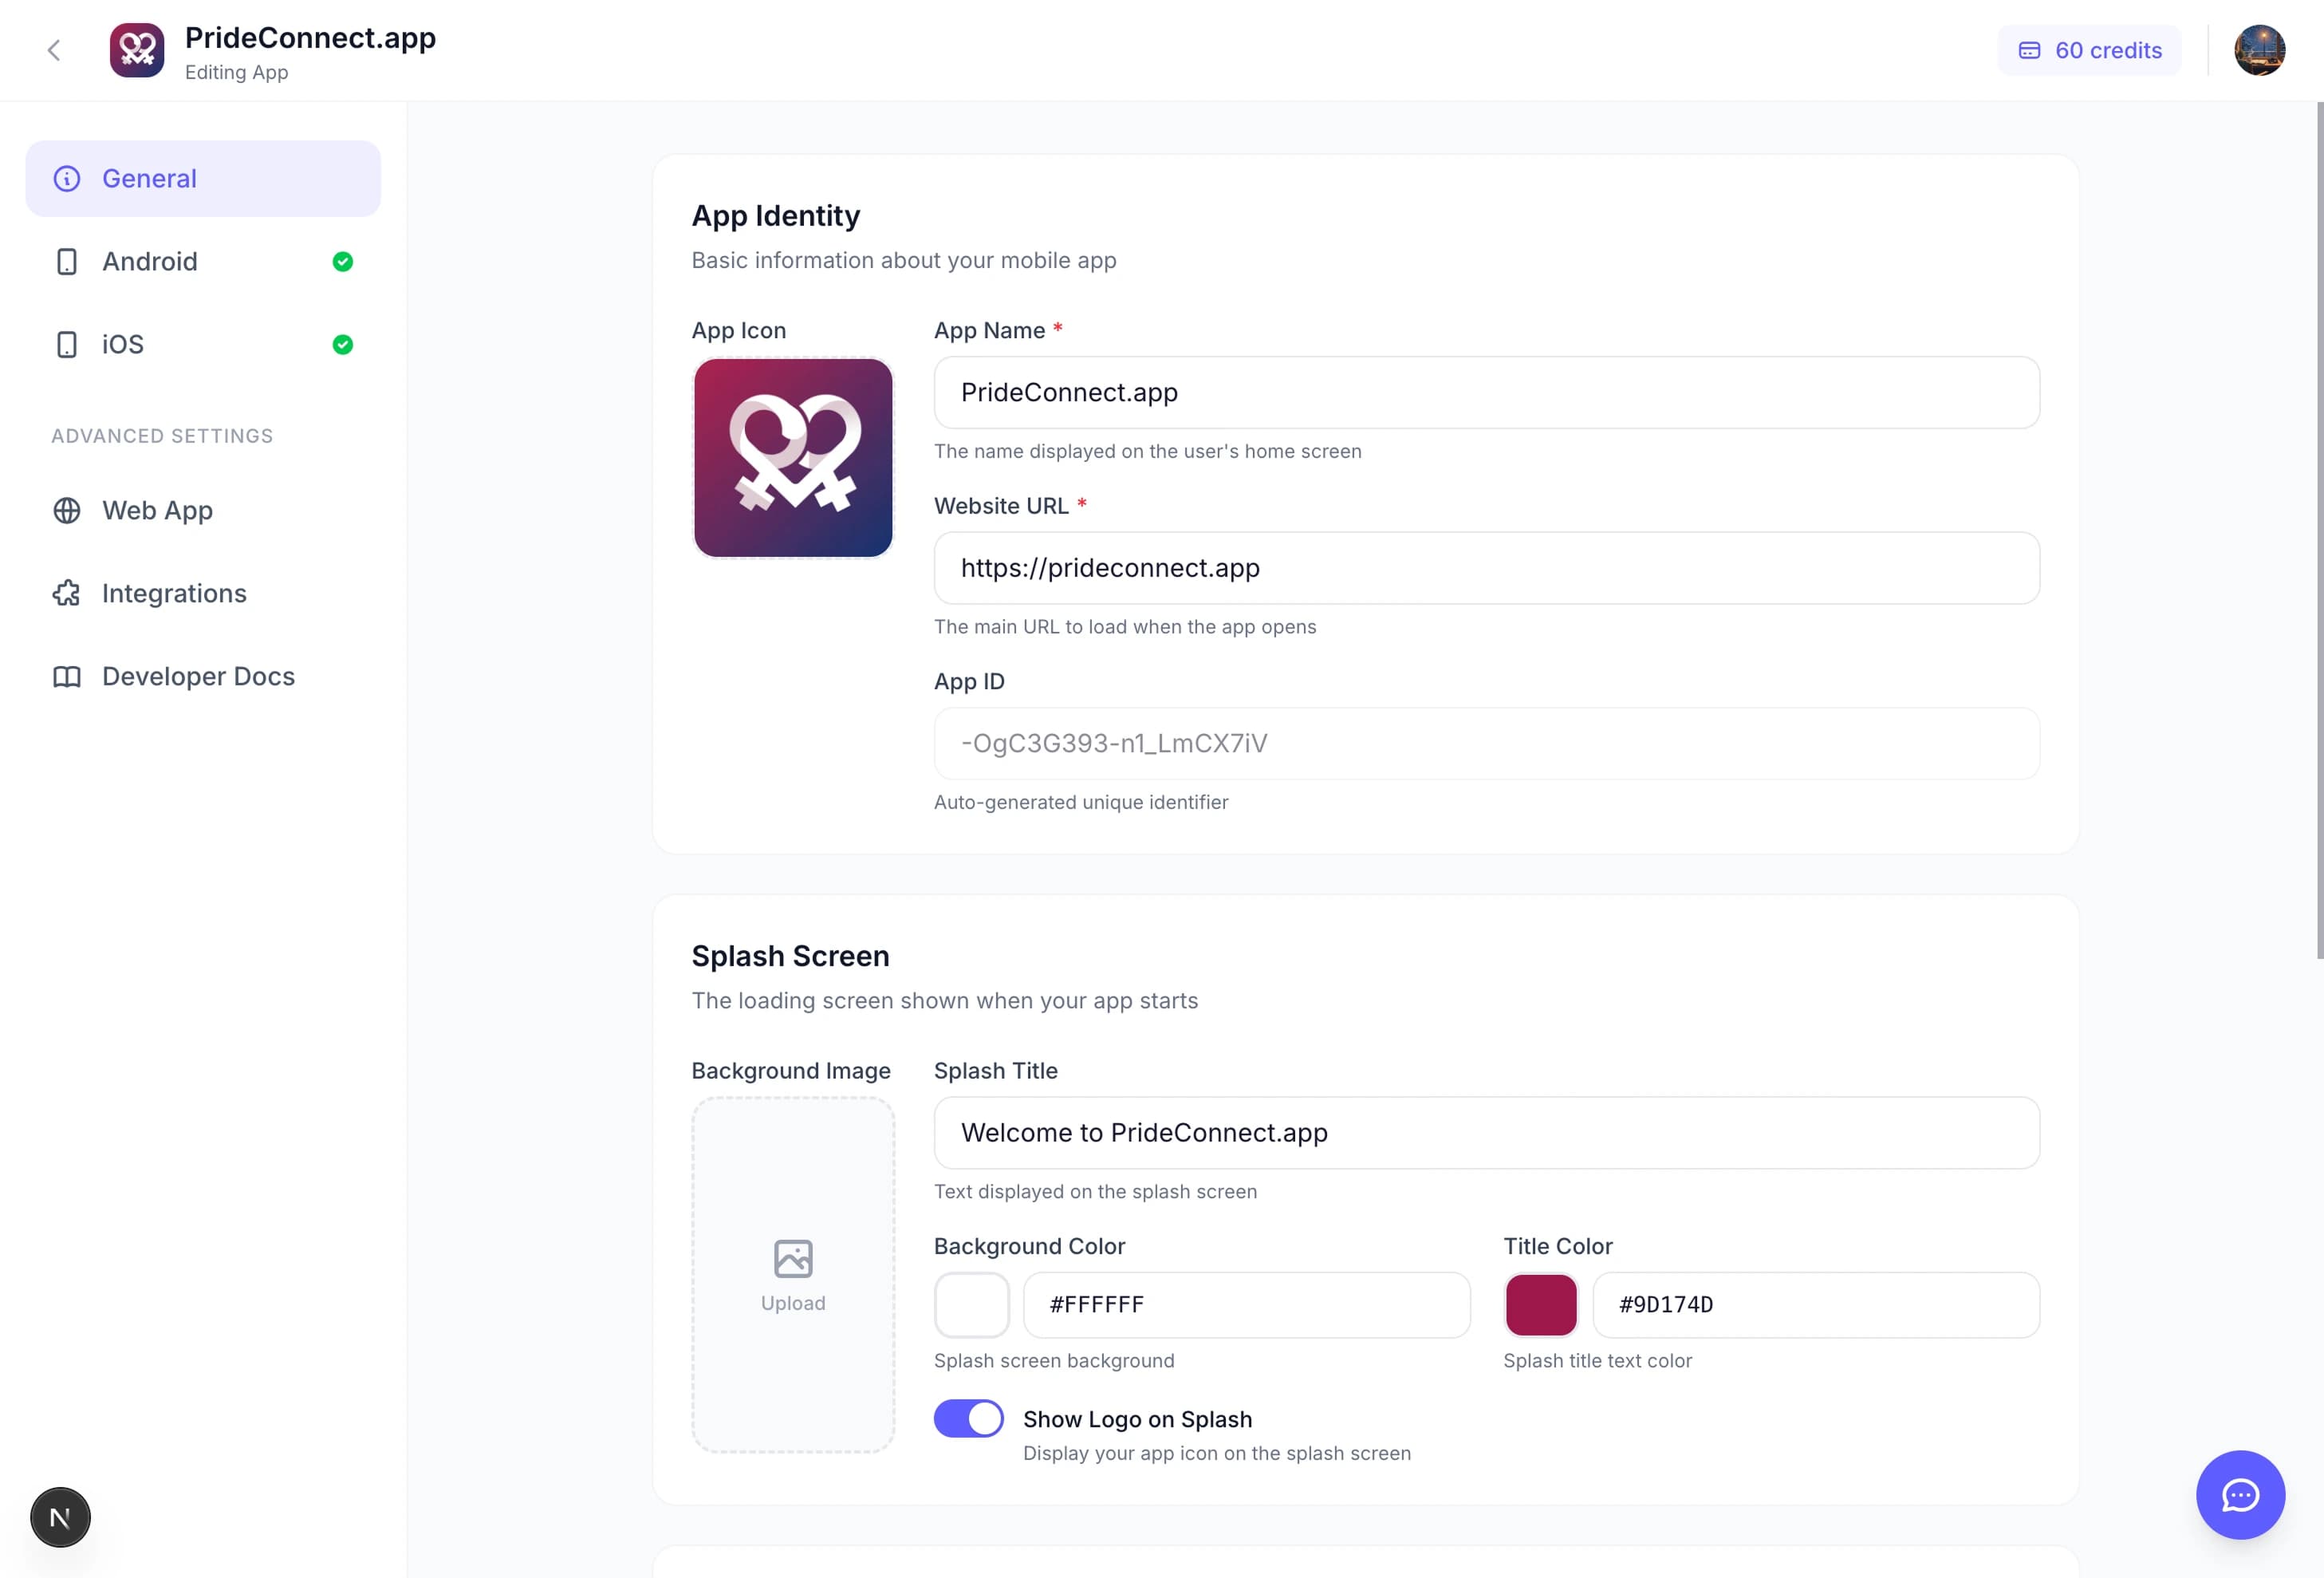
Once your URL is entered, you can customize your app's appearance. This includes:
- App Name: The name shown under your app icon on users' devices
- App Icon: Optional replace. We start from the favicon or a letter avatar; upload a 1024×1024 icon before a store build
- Splash Screen: The loading screen users see when opening your app
- Theme Colors: Match your brand's primary and accent colors
#Step 3: Configure Native Features
WebToApp supports powerful native features that go beyond a simple webview wrapper:
Push Notifications
We integrate with OneSignal for reliable push notification delivery. You'll receive your own OneSignal dashboard to send targeted campaigns.
AdMob Monetization
Enable Google AdMob to display banner, interstitial, or rewarded ads within your app and generate revenue.
#Step 4: Build Your App
When you are ready for the stores, use Production Build on the Android or iOS tab. That uses credits (30 for the first Android build, 50 for the first iOS build). Failed production builds refund credits. Free demos are not store binaries.
- iOS builds produce an IPA file ready for App Store Connect
- Android builds produce an AAB file ready for Google Play Console
- Build times are typically 5-10 minutes per platform
Important
You'll need an Apple Developer account ($99/year) for iOS apps and a Google Play Developer account ($25 one-time) for Android apps to publish to the stores.
#Next Steps
Once your app is built, download the IPA or AAB file and upload it to the respective app store. Apple and Google will review your app (usually 1-3 days for Apple, hours for Google), and then you're live!
“We went from idea to App Store in less than a week. WebToApp made the entire process painless.”
— Sarah M., E-commerce Store Owner
Ready to get started? Create your first app today and see how easy it is to extend your web presence to mobile.